
Measure the low areas
We document current depth and identify bare or disturbed sections so the installation target is based on the attic in front of us rather than a generic bag count.
Reviewed by Victor Panet, Founder · U.S. veteran and HVAC professional
When a vented attic is dry and the main problem is thin or uneven coverage, blown-in insulation can be a straightforward way to improve it.
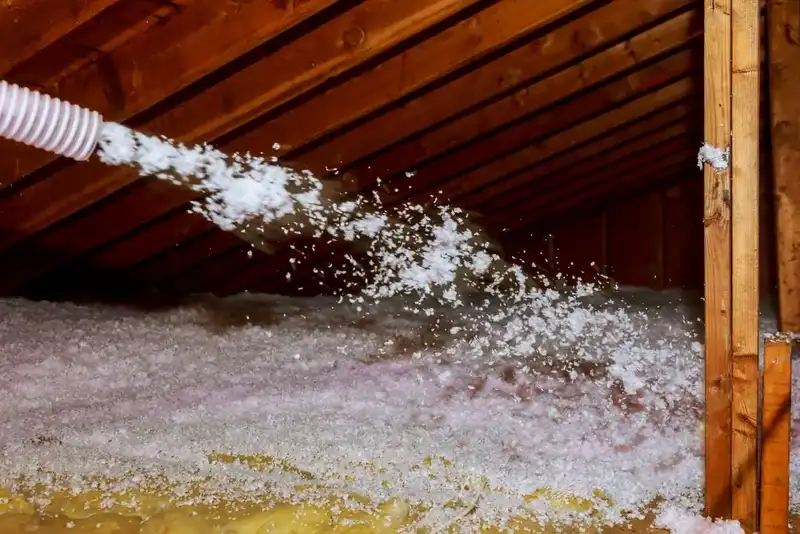
What we are looking for
Blown-in work is most useful when the problem is distribution and depth, not when the attic needs a cleanout, roof repair or complete change in boundary strategy.
Loose-fill insulation can lose effective depth when it settles, is moved by trades or is pushed aside for access. The result is often an attic that looks covered from the hatch but contains thin lanes, bare framing bays or disturbed areas over the rooms that feel hottest. Those weak spots matter because heat transfer concentrates where resistance is lowest. A top-up should begin by mapping those areas instead of estimating material from the square footage alone.
Existing depth
we measure several areas to identify where the attic has settled or been disturbed.
Material condition
dry, clean existing insulation may remain; damaged or contaminated material changes the scope.
Air-sealing access
reachable ceiling penetrations are identified before loose fill makes them harder to reach.
Ventilation path
soffit and other designed airflow routes should remain open where the attic is intended to stay vented.
Clearances and platforms
equipment, service access and heat-producing components are protected from being buried.
A blown-in project also gives the crew one of the last easy opportunities to reach the ceiling plane. Plumbing penetrations, wiring holes, chases and attic hatches can leak conditioned air. If new loose fill is placed first, those openings become harder to find and seal. Preparation therefore matters as much as the final depth. The goal is not simply to make the attic deeper; it is to improve the continuity of the air and thermal boundary together where practical.
Existing material must also be evaluated. Clean, dry and compatible insulation can often remain. Wet, pest-contaminated or heavily soiled material should not be hidden under a fresh layer. A top-up is a restoration strategy, not a method for covering conditions that deserve removal or repair.
How it works
The sequence is inspect, prepare, install and verify. That keeps the new material from hiding conditions that should have been addressed first.
We document current depth and identify bare or disturbed sections so the installation target is based on the attic in front of us rather than a generic bag count.
Accessible leaks are addressed where included, ventilation paths are protected and damaged material is flagged for removal if it should not remain beneath the new layer.
Loose fill is installed across the approved area with attention to depth, corners, perimeter zones and areas around access paths. Material is not intentionally piled at the hatch to create a misleading impression of coverage.
The crew reviews accessible depth and continuity, confirms ventilation and service areas remain usable and cleans the work path before leaving.
When this may not be the right fix
A top-up is efficient when the existing attic is worth keeping. It is the wrong move when new material would bury the reason the attic is failing.
Roof leaks, damp material or condensation concerns should be diagnosed before another layer is added.
Pest waste, heavy debris or damaged insulation can justify removal so the ceiling plane can be cleaned and inspected.
If the project is intentionally moving insulation to the roof deck, a loose-fill top-up at the ceiling may work against the new assembly.
Blown-in material is also not the right answer when the attic already has adequate, even coverage and the complaint is clearly tied to duct leakage, insufficient airflow or a wall exposure. Adding depth to a strong part of the envelope can consume budget without improving the weak part of the home.
The practical advantage of blown-in insulation is that it can restore a familiar vented-attic strategy without major demolition. That advantage disappears when the existing attic is damaged enough that it should first be opened, cleaned or redesigned. The inspection should make that distinction before the proposal is written.
Before and during the job
An attic can be mostly insulated and still perform poorly if the areas above the most uncomfortable rooms are the ones with the weakest coverage.
Uneven insulation can turn room-by-room comfort into a constant balancing problem. The thermostat responds to one location while heat enters more aggressively through another. Homeowners may lower the temperature, close vents or add fans without changing the ceiling section that is actually underperforming. Restoring coverage will not solve every airflow problem, but it removes one clear building-envelope variable from the equation.
Waiting can also allow ordinary service activity to make the distribution worse. A technician crossing the attic, stored items or repeated access can compress or move loose fill. Documenting the condition and restoring the field gives future trades a clearer baseline and makes it easier to spot later disturbance instead of assuming the original installation was uniform forever.
Homeowners should know where the hose will enter, what areas are included and what must stay uncovered before the first material is blown.
The crew protects the access path and confirms the attic sections included in the scope. Preparation work is completed first, including accessible air sealing or removal items listed in the proposal. Ventilation baffles, attic hatches, platforms and service clearances are maintained so the finished attic remains functional.
Material is then delivered through the hose and distributed across the attic to the planned depth. The installer works outward rather than concentrating material only near the access point. At the end, accessible coverage is reviewed, the hatch area is finished cleanly and the equipment path through the home is removed and cleaned. The homeowner should receive a clear explanation of what remained under the new layer and what target was installed.
Common questions
We start with the building assembly, existing insulation, air leakage, attic or crawl-space conditions, HVAC configuration and visible moisture indicators. The recommendation follows those conditions instead of beginning with a preferred product.
Next step
We check existing material, accessible air leaks and uneven depth before recommending blown-in insulation.