
Identify the wall assembly
We determine framing or masonry conditions, visible layers, likely cavity depth and the relationship between the hot room and the exterior exposure.
Reviewed by Victor Panet, Founder · U.S. veteran and HVAC professional
The best wall-insulation method depends on whether the wall is open or finished, how much access is available and how the wall handles moisture.
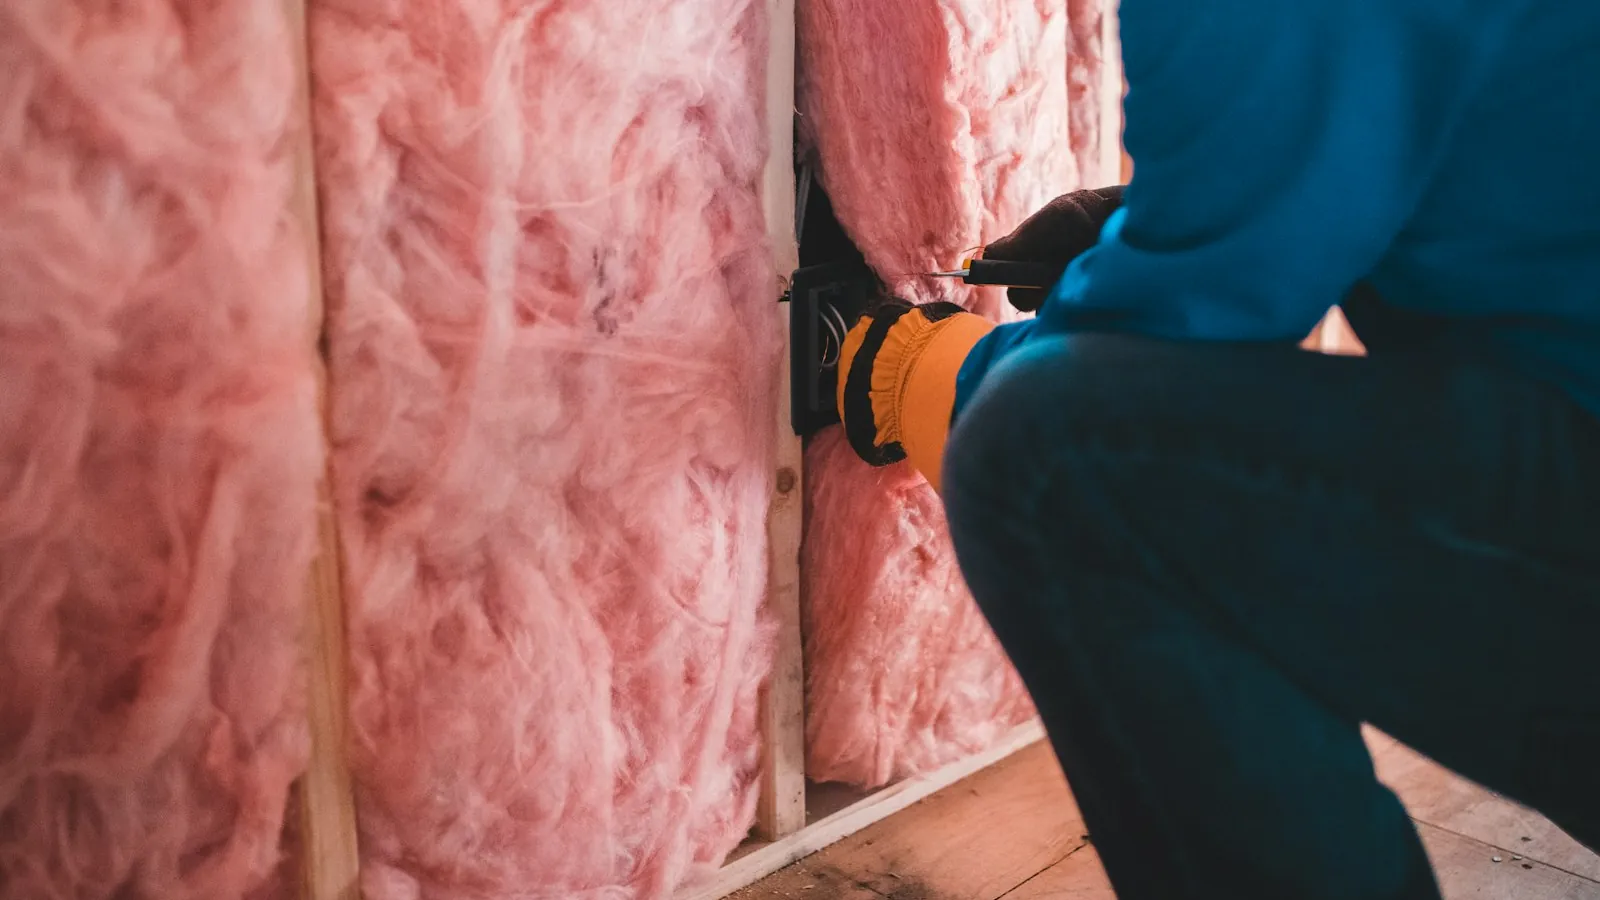
What we are looking for
West-facing bedrooms, converted garages and additions often tell a different story from the attic. The symptom follows the sun, one exterior elevation or a section of construction that was built differently from the rest of the home.
Wall insulation problems show up as localized discomfort. A wall may feel warm late in the day, furniture near that surface may feel noticeably hotter and the room can lag behind the thermostat even when the attic above is well covered. The cause may be an empty cavity, compressed material, thermal bridging, air leakage or a wall assembly that was never designed to perform like the rest of the house.
Wall type
framed, masonry, furring and mixed assemblies create different cavity and access conditions.
Exposure
the room's orientation and solar load help separate a wall problem from an attic or HVAC problem.
Existing material
where visible, we check whether insulation is present, compressed, damaged or discontinuous.
Utilities and blocking
wiring, plumbing and fire blocking can limit retrofit distribution and must be considered before drilling.
Moisture path
exterior drainage, interior finishes and vapor behavior influence which material is compatible with the wall.
The retrofit method depends heavily on access. Open framing during renovation allows the cavity to be inspected and insulated directly. Finished walls may offer limited-access approaches, but wiring, plumbing, fire blocking and existing insulation can prevent even distribution. Masonry block construction introduces different geometry than framed walls. A useful proposal describes what can actually be reached rather than promising full cavity performance through a few holes without verification.
Moisture behavior matters too. Florida walls must manage rain, vapor and air movement as assemblies. Adding a low-permeance material in the wrong location can change drying potential. The product choice therefore follows the wall type and existing layers; more R-value is not automatically better if the assembly becomes less tolerant of moisture.
How it works
The right installation method is determined by what the wall is made of, whether the cavity is open and how the assembly needs to dry.
We determine framing or masonry conditions, visible layers, likely cavity depth and the relationship between the hot room and the exterior exposure.
Open-wall projects can be insulated directly. Finished retrofits require a plan for entry points, cavity obstructions and patching, with realistic expectations about what can be verified.
Insulation is placed to reduce gaps and compression while respecting wiring, plumbing, clearances and the wall's moisture strategy. The product follows the assembly rather than the other way around.
Accessible cavities are reviewed before finishes return. For limited-access work, the crew documents the method and any areas that could not be reached rather than pretending hidden conditions were confirmed.
When this may not be the right fix
A hot exterior wall is evidence; a hot room by itself is not. The diagnosis should compare wall exposure with attic coverage and airflow before opening finishes.
If the cavity is already performing and the symptom follows a weak duct or low airflow, HVAC work may be more useful than adding wall material.
Leaks and drainage failures should be repaired before insulation changes the cavity or hides moisture evidence.
Some finished assemblies cannot be filled evenly without more invasive work. The proposal should acknowledge that limit instead of overselling a blind approach.
Window performance, shading and solar exposure can also dominate a room's heat gain. Insulating the wall around a large west-facing glass area may help the opaque wall while leaving the main source unchanged. The inspection should look at the room as a whole before recommending cavity work.
Wall insulation is also not an excuse to trap a known moisture problem. If the exterior cladding, flashing or drainage plane is failing, those repairs belong ahead of a retrofit. The wall needs a path to manage water before its thermal layer is upgraded.
Before and during the job
Localized heat gain is easy to misdiagnose because the thermostat may be in a comfortable part of the house while one exposed room carries the load.
If the wall is the real weak point, lowering the thermostat or adding attic insulation may not change the late-afternoon heat entering that room. The HVAC system responds to the whole house, while the solar-exposed wall creates a concentrated load in one space. Correctly diagnosing the wall prevents money from being spent repeatedly on parts of the envelope that are already performing adequately.
Renovation also creates a timing opportunity. Once drywall is removed, the wall cavity is visible and much easier to evaluate. Delaying insulation until after finishes return can turn a straightforward open-cavity installation into a limited-access retrofit with more patching and less certainty. When the wall is already open for another project, coordinating insulation before closure can be the most practical sequence.
An open renovation wall and a finished retrofit are different jobs. The homeowner should know which cavities are reachable and what patching or follow-up work is included.
For open-wall work, the crew confirms framing, utilities and the specified material before installation. Cavities are prepared and insulation is installed without unnecessary compression or gaps. Because the assembly is visible, coverage can be reviewed before drywall or other finishes close it in.
For finished-wall retrofits, the access plan is marked in advance. Entry points are created only where needed, material is installed according to the chosen method and the crew monitors for obstructions that prevent full distribution. The proposal should state whether patching is included and what level of finish is provided. Hidden-wall work should be documented with appropriate limits rather than described as if every cavity were visible.
Common questions
We start with the building assembly, existing insulation, air leakage, attic or crawl-space conditions, HVAC configuration and visible moisture indicators. The recommendation follows those conditions instead of beginning with a preferred product.
Next step
We compare exposure, cavity access and the rest of the building envelope before recommending a wall retrofit.